
[wtr-time]
How to Lock a Kayak to a Roof Rack (DIY)
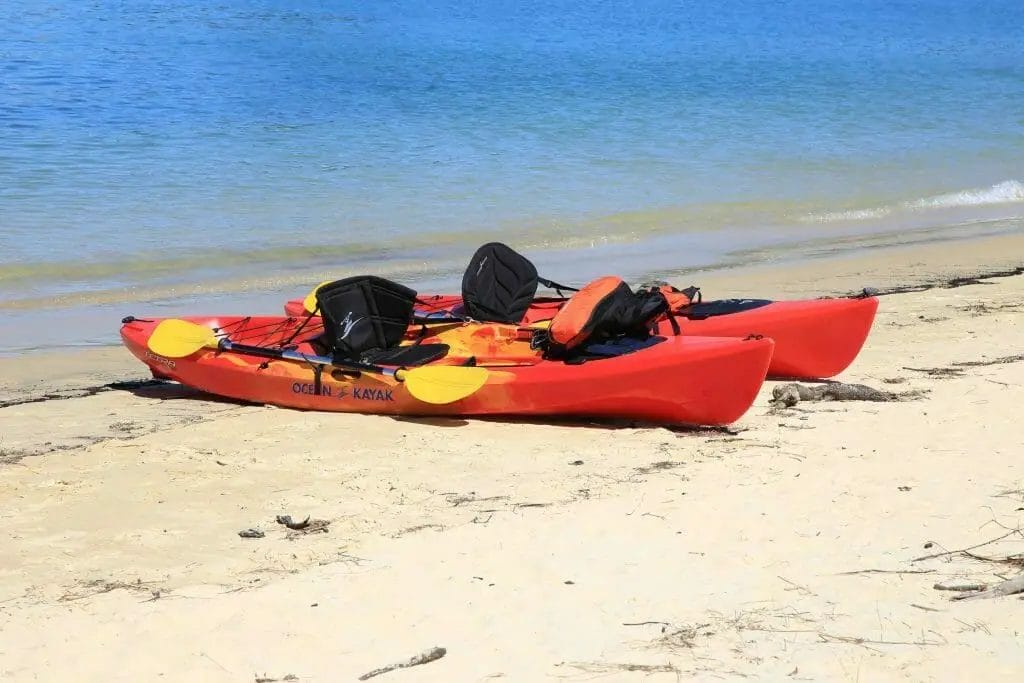
When you drive with your kayak out on the road, you’ll need to be mindful about attaching it to your vehicle. Cable locks and DIY racks will secure your kayak to a car roof.
In general, when you have a roof rack that is either a; crossbar, J-hooks, or any other roof rack, locking your kayak is easy. So here is how to lock your kayak on a roof rack:
- Lift the kayak and place it on the roof rack.
- Place it between the window trim or door frame and the tower feet to secure the clamp.
- Attach the clamp on the tower feet using the provided bolt.
- Lastly, slide your kayak through and fasten it. Make sure it’s properly secured.
Getting Started

Kayaks are too large to transport inside a vehicle. Towing a trailer is one option, but it is inconvenient and necessitates using a vehicle equipped with a tow hitch. A rooftop kayak rack is the most efficient method to travel your kayak, and learning how to lock the kayak to the roof rack is an excellent skill to have.
Mounting a kayak to the roof of a car frees up interior space while also reducing the possibility of scuffed hulls and chipped paint.
Here are the different roof racks that will secure your kayak and the easy guide to installing them.
RELATED Best Kayak Roof Rack
4 Type of Roof Racks & Installation
While a properly built roof rack system can allow you to travel without difficulty for many years, an incorrectly installed roof rack could bring disaster. Car damage can be caused by a roof rack that is over-torqued or under-torqued, inadequately mounted, overloaded or the wrong fit for your vehicle.
How to lock your kayak on a roof rack? Well, the sort of roof rack you select determines how you install it and secure a kayak to it. Let’s look at some of the most common kayak carriers.
#1. Crossbars

Crossbars are the first equipment you should install on your car if it doesn’t already have one. After that, you may use fitting clamps to secure a kayak carrier to the crossbars and hold the kayak in position.
Now, let’s go into the details of how to hook them up:
- Clear all things off the top of your car roof and give it a good washing.
- Join the crossbars to the towers or feet if they are not already connected.
- After that, mount the racks on your vehicle’s roof.
- It’s time to join the clamps to the towers once you’re satisfied with the positioning of the bars.
- Put it between the window trim or door frame and the tower feet to secure the clamp.
- With the bolt included, fasten the clamp to the tower feet.
- Make sure the rack is tight and sturdy and that it does not slide when you jiggle it.
- Repeat the method on the opposite side of each crossbar.
Simple, effective, and easy to install as well as remove from your vehicle. Some may doubt the durability of this setup. Don’t worry because we tested it, and it demonstrated both resilience and safety. (1)
#2. Saddles

These items are made up of a left and right section that you connect to the crossbars to make a “cradle” and insert the kayak in between.
To guide you, here is a three-step process on how to install them:
- Put the saddle on the crossbars.
- Then, place the bolts into the rollers and saddles. You should insert them into the snapper rounds.
- Lastly, tighten the lock roof rack saddles to the crossbars.
#3. Pads

These inflatable padding may be attached straight to your car roof, making them an even more convenient form of saddle. However, be aware that they may not be as steady and durable as solid carriers. Here’s how you install pads on your roof rack:
- Open the velcro on the rack pads.
- Cover your vehicle’s crossbars with the pads.
- Tighten the pads using the elastics.
- Make sure the closing side is on the bottom.
- Now, close the velcro, and it’s finished.
#4. J-hooks

These steel kayak carriers mount to your roof rack and are extra sturdy and durable. They resemble the letter J, with one side elevated for kayak lock support. The other side is shorter, letting you slip your kayak onto it from the side of your car.
- Put the first frame on top of your roof rack.
- Grab a bold, a base plate, and a nut. Do this halfway only, so the base plate can still wobble around.
- Grab another bold and put it through the hole and the base plate.
- Then push your nut up. You may use a spanner to push your nuts up or your fingers. Remember to do this as tight as you can.
- After you mount the first frame, just repeat the process on the second frame.
Remember that horizontal crossbar (those that stretch from the passenger side to the driving side, not just front to rear) are required for J Bars to function. Otherwise, the J Hooks will not be next to each other and facing the same way. You may check more here.
Kayak Roof Racks: Product List Recommendation
The most practical way to transfer kayaks to the water is to use a rooftop kayak lock rack. Placing a kayak on the roof of a car frees up inside space while also reducing the risk of hull scuffing and paint chipping. Here are some kayak roof racks available in the market that might help you out.
HandiRack Inflatable Bars

The HandiRack Inflatable is a convenient, temporary crossbar system for putting kayaks and other gear onto vehicles without lock roof racks. This is an excellent product to have for you to learn how to lock a kayak on the roof rack.
A cam buckle secures the twin bars in place with a pass-through cabin-fitting strap. The puncture-resistant nylon tubes are attached to the roof by inflating them. The six-pound device is simple to set up and deflate, and it folds up small for storage. You may use it in numerous vehicles, which could benefit multi-car owners.
Malone SeaWing

The SeaWing is the safest kayak transporter on the market. Its low-profile design allows for the addition of a second system for transporting kayaks side by side. The boat is supported horizontally by two movable V-shaped beds secured to the roof by ratcheting straps. The saddles bend gently to accommodate kayaks of various widths, reducing wind drag and increasing gas mileage. Saddle-style carriers are more stable than temporary pads and j-cradles because they have more surface contact with the kayak.
Thule Hull-a-Port Pro

The most common question we receive is how to lock a kayak on the roof rack the easy way? Well, the Hulla-a-Port Pro rack from Thule is the most comfortable in its class. Two J-shaped cradles attach to the roof rack’s front and rear load bars, leaving room for a second carrier or equipment. Four padded contact points adjust to keep a kayak vertically aligned while ratcheting straps keep it secure. A simple lever folds the system flat when the carrier is not in use, enhancing overhead clearance and gas mileage. (2)
For more roof rack suggestions, please click here.
References
(1) resilience – https://www.frontiersin.org/articles/596919
(2) gas mileage – https://www.caranddriver.com/research/a31518112/what-is-good-gas-milage/