
[wtr-time]
Kayak Rigging – A Guide for Fishing Rigs (Fishing Kayak Expert Tips)
There are a couple of things that you should take into consideration when you are thinking about your kayak rigging.
They consist of safety, reachability, comfort, and accessibility.
Safety
Shall we talk about safety first? When setting up your new or old kayak, you don’t want to worry about having your safety gear within reach. When I talk about safety gear, I mean, in particular, a very loud whistle, a fully visible (360 degrees) light, and a bright orange and silver reflective flag. These things have to be within your reach; boats don’t give a damn about kayakers, plain and simple. Jet skiers are also getting way too close to kayakers.
When fishermen typically fish in these areas, they do have to cross bays, rivers, and stretches now and then to get to the honey hole. This is when it gets hectic and sometimes dangerous. Some day, we will get respect from the other boaters, and it will probably happen when they are trying to get into our honey hole with that expensive $3000 Hobie pro angler setup.
Here’s a List of Things You Might Want to Bring Along:
- Personal flotation device (PFD) or life jacket
- Whistle or another signaling device
- Brightly colored clothing or reflective gear
- Fully charged and operational marine radio or VHF
- First aid kit
- Throwable flotation device (e.g., ring buoy)
- Navigation lights (if fishing at night)
- Headlamp or flashlight
- Emergency beacon or personal locator device
- Sunscreen and a hat for sun protection
- Adequate hydration and food supplies
- Emergency shelter or survival kit
The next one on the list when you think about kayak rigging is reachability.
Reachability
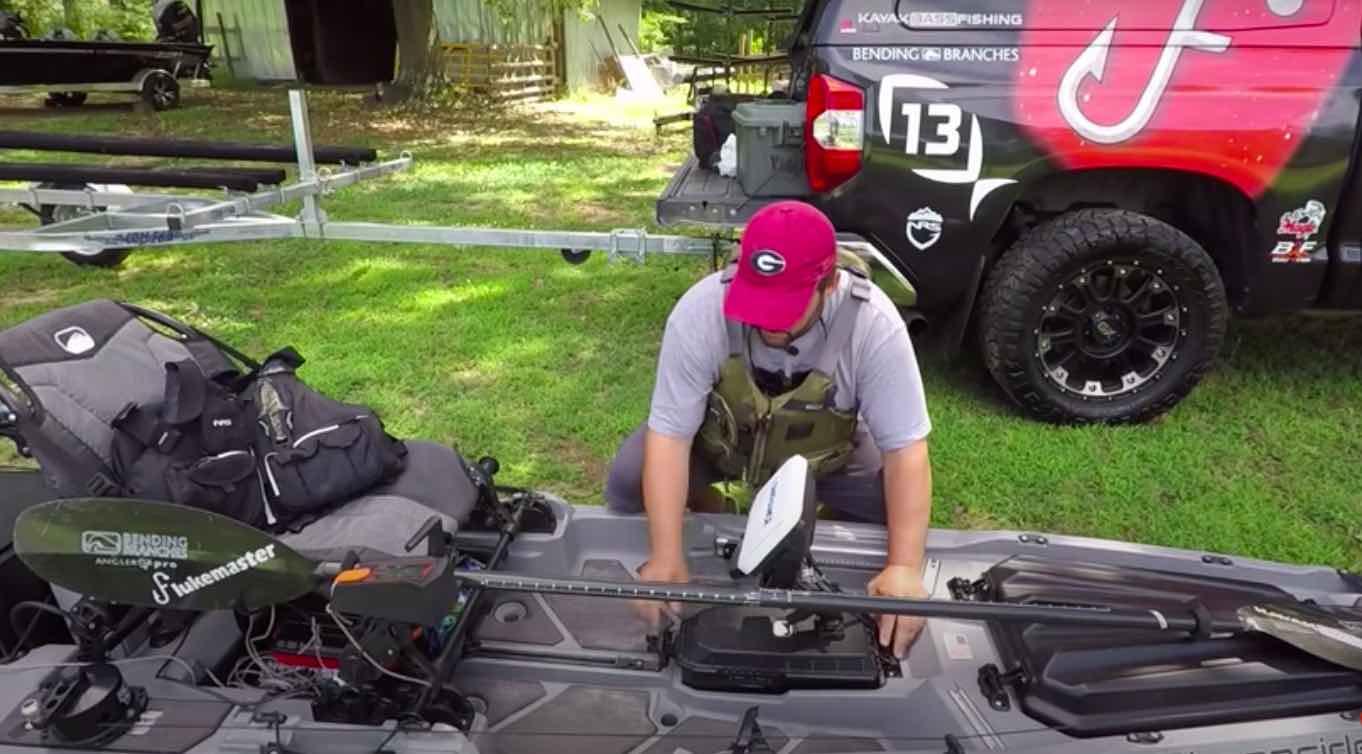
You don’t want to have any items too far out of reach, as moving around when on the water is possible, but it’s not usually recommended.. especially on sit-insides. 99% of the time, I will mount rod holders behind me and usually use the ones that stick up and can be adjusted. The flush mounts make me feel like I will lose a rod while trolling.. it hasn’t happened yet; I don’t like the feeling. You can pick up some flush mounts for around $7 a piece or so; two will do the job for most anglers.
- Rod holders
- Tackle storage solutions (e.g., tackle boxes, storage bins, milk crates)
- Paddle leash
- Anchor trolley system
- A fish finder or depth sounder
- Compass or GPS device
- Landing net
- Pliers or other tools
- Bait bucket or live well
- Cooler or ice chest for drinks and food
- Camera or phone for taking photos or video
- Waterproof bag or dry bag for electronics and other sensitive items
Accessibility

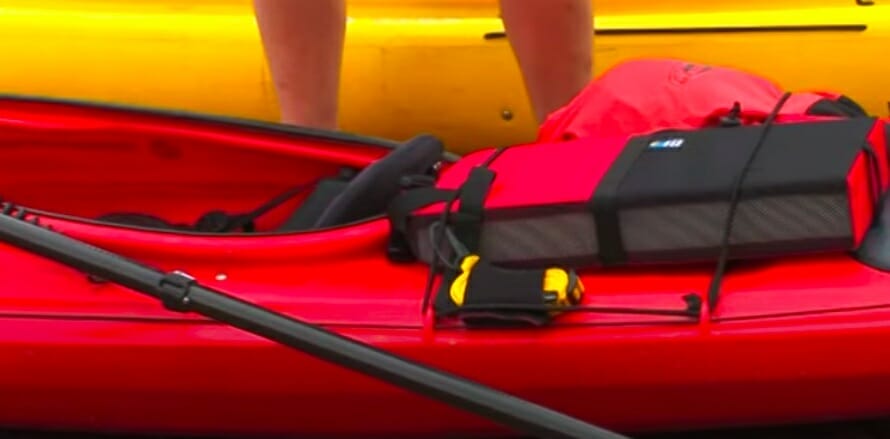
An anchor trolley is also a must-have for your kayak rigging. It allows you to position the boat while fishing perfectly or anchored up. Tackle boxes are usually downsized to the Plano tackle cases and can be tossed under the front deck for easy reach or installed into a milk crate setup.
Pros of an Anchor Trolley:
- It allows you to position your kayak while fishing or at anchor easily
- Can help you maintain your position in windy or current-prone areas
- It can be used to change positions or follow fish quickly
- Can be used in conjunction with an anchor to keep your kayak stationary
- Can be easily removed or adjusted as needed
Cons of an Anchor Trolley:
- It can be more expensive than other rigging options.
- Requires installation onto the kayak, which may be difficult for some users
- It can create additional clutter or tangles on the kayak if not used and stored properly.
- It may not be necessary for all types of fishing or kayaking activities.
- It can be damaged or malfunction if not properly maintained.
RELATED Best Kayak Accessories Guide
Comfort

The last thing to consider about kayak rigging is comfort. Please take a couple of paddling expeditions out on the water before you start bringing any gear with you; it will make things a lot easier. If you can afford a higher retail sit on top, you may not need to change anything about the boat’s comfort, as they tend to spend some time making you comfortable. you get what you pay for, after all.
If you are like me, you must go with the $200 version and make it work. It isn’t very comfortable, but you will usually see what needs to be fixed after one trip. It’s alright; think about it.
- Padded seat or seat cushion
- Footpegs or pedals for adjusting leg position
- Adjustable seat backrest
- Paddle holder or clip to keep paddle within easy reach
- Cup holder or water bottle holder
- Sunshade or canopy for sun protection
- Spray skirt to keep water and wind off the lower half of the body
- Small portable fan or personal cooling device
- Padded foam or gel pad to add cushioning on hard surfaces
- Wrist leash or lanyard to keep essential items within reach
- Small cushion or pillow for added comfort on long paddles or extended fishing sessions.
Take a look at some of our related articles below.
- Sea Eagle kayak buyer guide top 10 boats
- The essential kayak anchor guide be still
- Best fishing kayak
Video References
Flukemaster
trails
Cornish Kayak Angler
Texas Fishing Force